Aloe Vera

We have an abundance of Aloe Vera growing on our property (this is only part of one of three patches). Which is very fortunate for what’s been going on with my skin these days. Yes, I’m aging and there’s not much what I can do about it, but being sick so often has kind of edged some lines that I hope are not permanent. Also, I’m losing weight and while that is not going as fast as I’d like, I can see some sagging skin happening and I want to at least try to help my skin to tighten up.

Aloe is so wonderful in itself, you don’t really need to do much to use it. I always have pieces of it (taking only half of the skin off) in the freezer for burns, insect bites and other incidents that might need aloe.

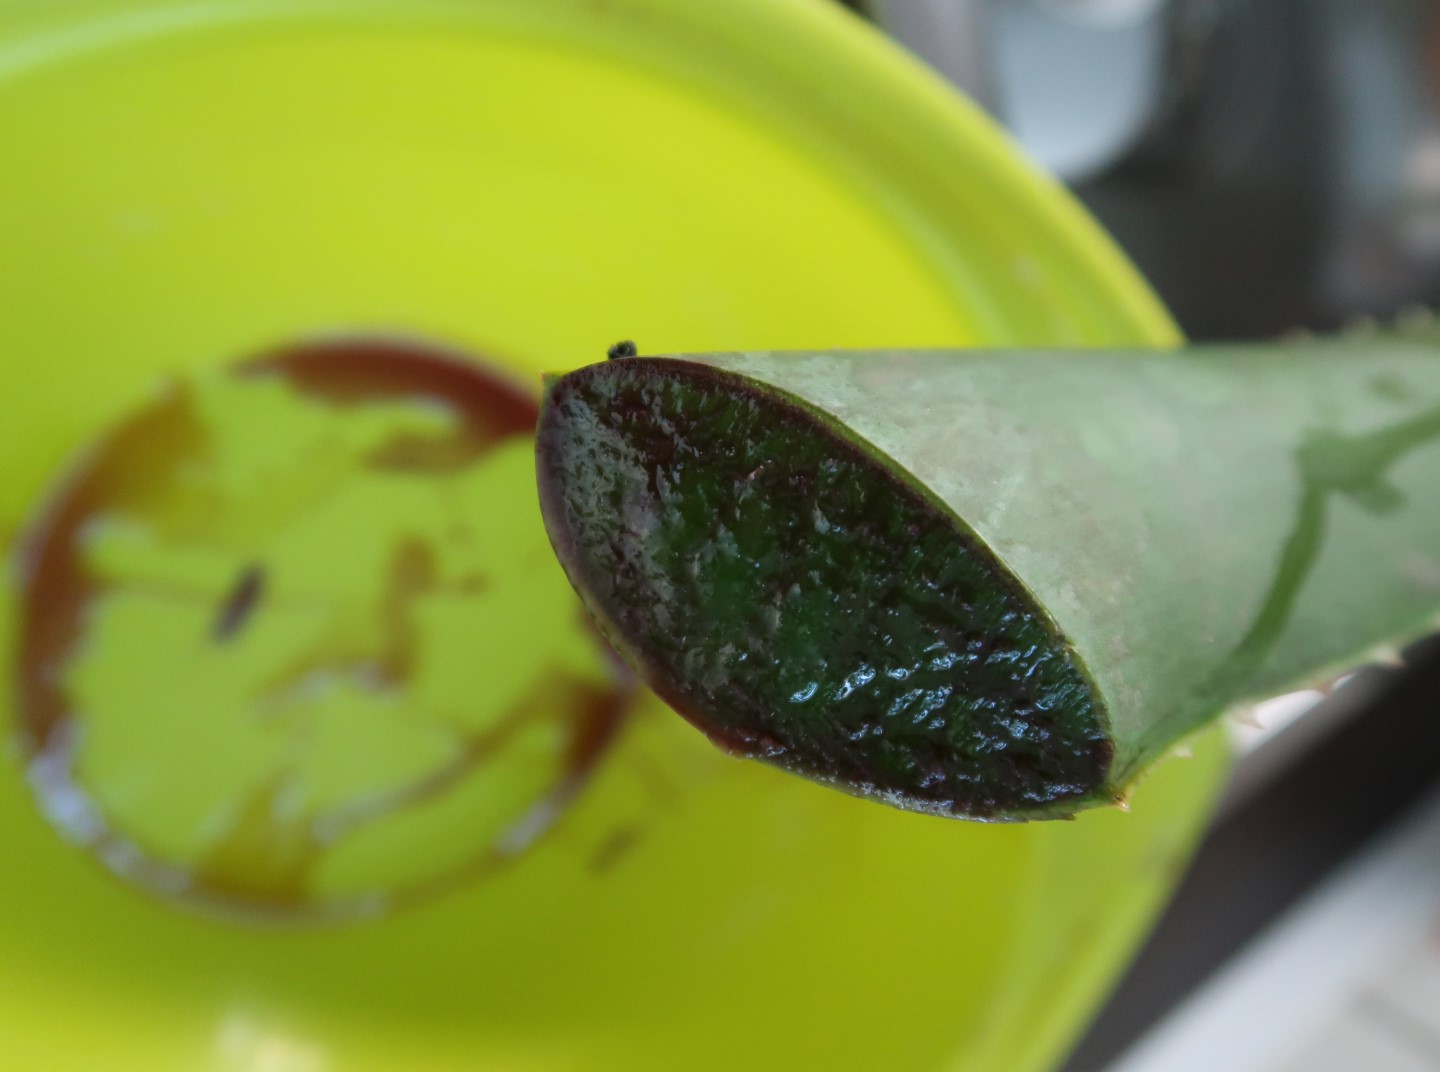
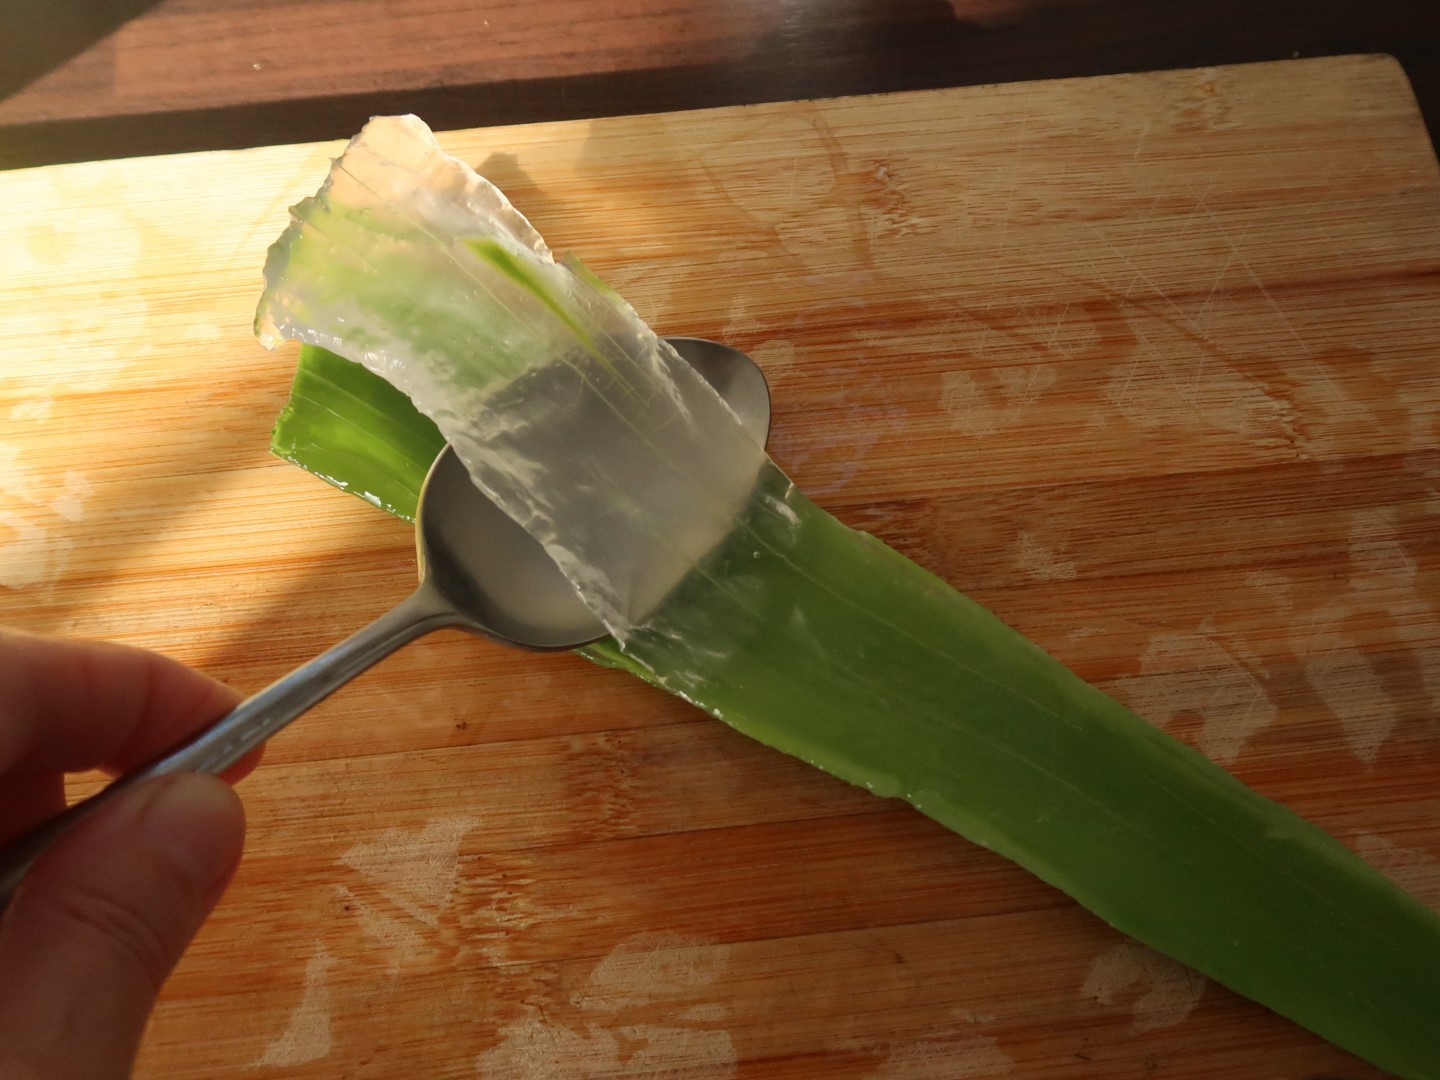
This time I took the skin off completely, after letting it drip out. The brownish stuff is very laxative and can be used medicinally, but I usually just rinse it out of the container it leaked into. I cut off the spikes, used a knife to slice off the flat part of the skin and a spoon to scoop the gel out of the curved part.

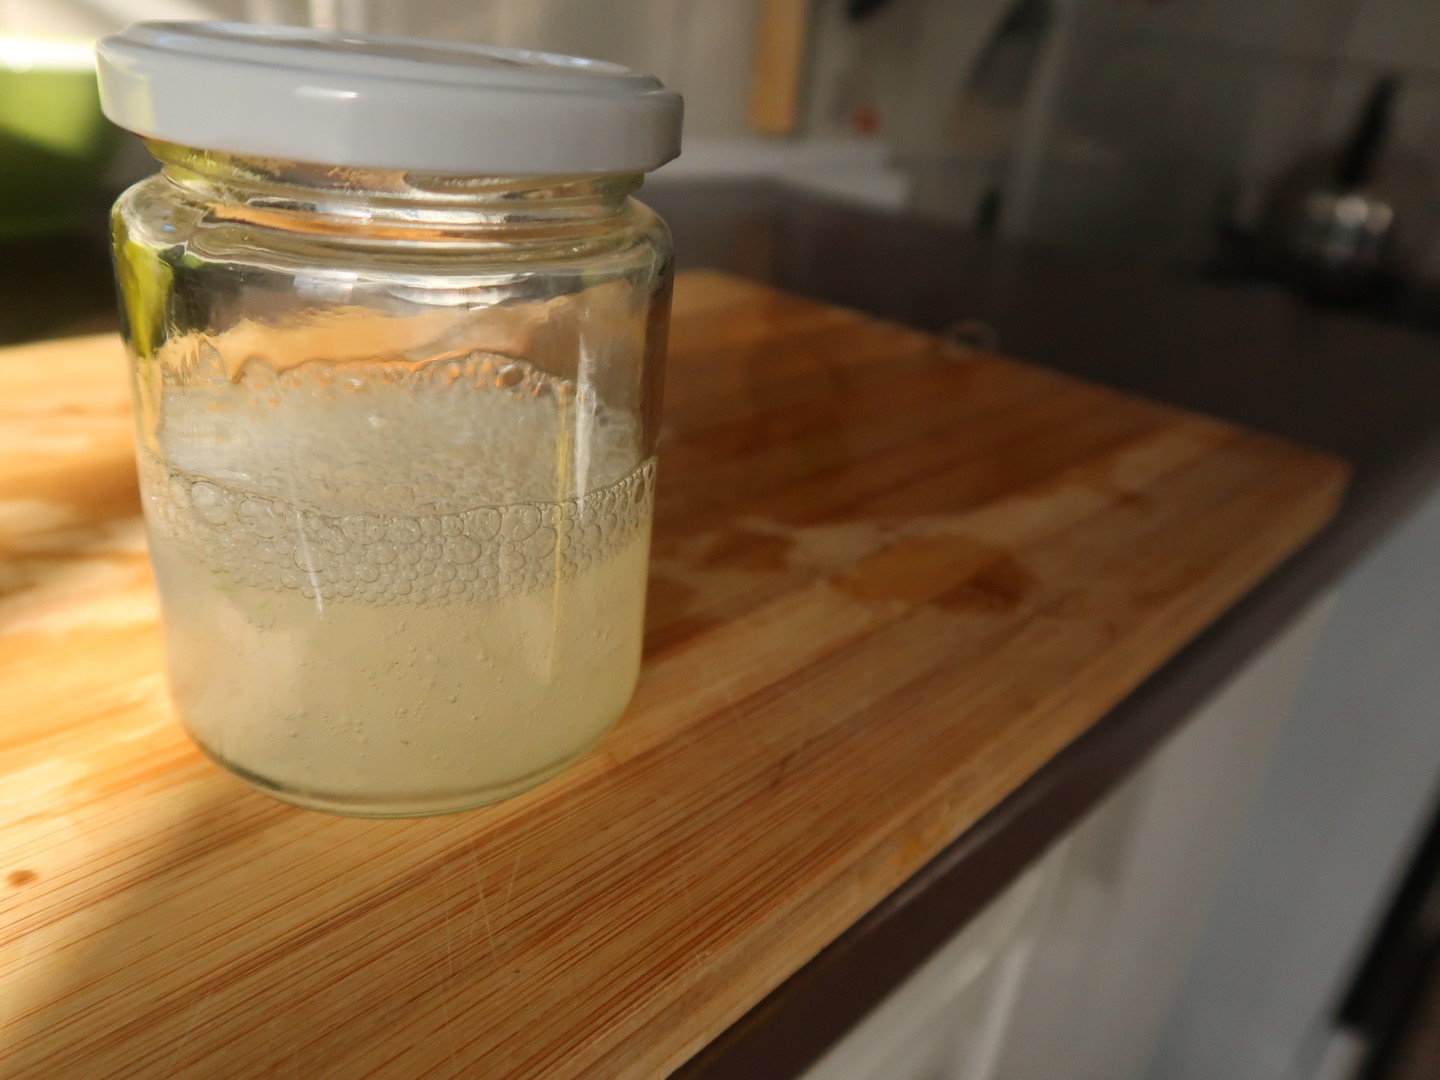
The first time, I used a food processor to make it more liquid. I read that you shouldn’t proces it too long – the more air you get into it, the faster it goes bad. I was too careful though, there were quite a lot of lumps left. It lasted over a week. I used it up before it went bad.

The second time I used my juicer and that worked even better. No lumps at all and it also lasted over a week.
I kind of fell of the bandwagon using it when we went to the Netherlands, but I did notice some improvement before we left, so I made a new batch this weekend. Let’s see if we can get that skin a little bit tighter…

Syrup making

Oh, my. I had such grand plans for herbal crafting. Well, I had grand plans for everything. But then I got sick and then my mental health needed a bit of attention and then traveling happened… Needless to say I’m way behind on my list of things I wanted to do and (and document for the blog). But I did one of the things on my list. I made a syrup. A herbal syrup.

I’ve been meaning to try to make syrups for a long time. And I guess I actually already do make them, since I make cough syrup every year. But I wanted to experiment a bit and expand my uses for it. Herbal syrups are great ways to take herbs that don’t taste so well on their own. The added sugar (or honey) also extends the shelve life of the infusions or decoctions you add to it. Opinions tend to differ a bit, but I think it’s safe to say that a 1:1 water/sugar ratio can be kept in a refridgerator for 6 months (ofcourse always discard if it looks or tastes wrong).

One of the herbs that grows best in my garden is Oregano di Korsou. Don’t let the name fool you, it’s not oregano at all. Its scientific name is Lippia Alba and it’s also known as juanilama, bushy matgrass, and poleo (among many other names). It helps with digestive problems and is also mildly calming (those two uses go together a lot, actually). It is used culinary too: it has a really nice lemony taste.

And because I have a lot of it (it grows like crazy in the part of the garden that is watered daily), I thought this would be a good herb to experiment with. Well, I already have – I’ve made teas, oils, tinctures and cleaning solutions with it. But never a syrup.

So that’s what I did.

(disclaimer: the following is not a tutorial, just what I did and boy, did I mess things up… But I thought it would be fun to document and share it anyway. So, you’re welcome to feel inspired, but please do your own research)

The recipe I found online said I needed 50 grams of dried herb to add to 600 ml water. Yeah, well, that didn’t work for me. I ended up using 30 grams of dried herb in a whole liter of water, becasue 600 ml barely made it wet.

Lesson for next time: don’t go blindly on instructions. Think for yourself (I usually do that, but this was the first day of being sick and I thought I just needed to stop whining and get on with it – I was wrong, I needed rest and plenty of it.)

Anyway… I brought the water to a boil and let it cook on high for 10 minutes. Oops. I meant to turn it down to low, but somehow forgot to do that. It think it’s more common to let it simmer. But I did reduce the water to half of what I started with and that’s what they say you need to do.

So at that point I had 500 ml decoction and that calls for 500 grams of sugar. I wanted to make this with monk fruit sugar, but 500 grams of that stuff is very expensive. So I opted for normal sugar. Technically monk fruit is bad for me too, so maybe I just shouldn’t even bother buying it. But that’s besides the point.

I ended up with two bottles of syrup. I love how it looks. Such a beautiful color. I had a tiny taste and oh wow. That’s so good. I think it will be really nice on ice cream or in sodawater. Or on cake? Endless possibilities.

Rosemary

One of my favorite herbs is rosemary. I love the smell and… well, everything else about it. I sometimes drink rosemary tea when I have a headache and that works wonderful for me. It doesn’t really work as a painkiller, but it helps to think more clearly. I also use the essential oil for that – diluted in olive oil, dabbing a few drops on my temples. (But please be careful if you want to try any of that – it can make your bloodpressure higher. Mine is always on the lower side, so that’s okay, but if your’s is high it’s not safe. Always do your own research before trying herbal remedies).

In folklore it’s said to protect from evil and to purify. Well, that never hurts, so I hung a few bundles around the house (also, or maybe mostly, because I love how it looks)

(picture to the right is in the toilet – I figured the smell would be nice there too)

I have been trying to grow rosemary here and I actually did get cuttings rooted and growing a few times, but somehow they all die on me after a while. I don’t understand what’s I’m doing wrong. I tried putting them in the ground, leaving them in potting soil, watering them a lot or not at all, shady spots and sunny spots… I don’t know. It’s weird. I had some at our last house in the Netherlands that the previous owner planted and they grew really big while I more or less ignored them. But hey, I’ll just keep trying, so I saved a few cuttings and put them in water.

(yes, that table is getting full. It still makes me so happy to look at it)

Garden dreams, reality, and drying herbs

I’ve always had this romantic image of how it would be to have an actual really big garden (not just a little backyard). Heavily influenced by Soulemama‘s beautiful posts of course. I just pictured myself wearing a pretty sunhat and flowy dresses, moving mindfully around the beds, harvesting a bit of this and a bit of that.

Well…. I have a really big garden now. Or maybe garden is not the right word for it. We have a lot of space around our house and I’m slowly working on getting it under control. It was actually quite empty when we bought the property. I think they used poison on it. That’s what they do around here..But after a year things started growing and now, after three years, the soil is back to normal.

Anyway, instead of walking around with shears and a basket, most of my gardening is done using a pickaxe. It’s hard and sweaty work. Wearing a flowy dress would be really inconvenient and my sunhats always fall or blow off. But it”s all good. I love it.

And yes, there is harvesting too. Mostly when a plant, bush or tree that is medicinally or culinary valuable needs trimming, so no mindful picking just a few leaves. Nope. Buckets full.

I thought I’d show you how I process and dry them.

First I cut the herbs into smaller bits, or remove the leaves (in this case that’s hard to do, and the stems are medicinal too).

Than I rinse them three times (no specific reason for that number, it just feels right).

I let them sit in strainers for two hours, to get rid of most of the water.

And then I spread them out on towels and cover them with other towels. I let it sit like that for about two days or so.

This herb is called Puta Luange (Stemodia maritima). I’m still getting to know it, but my books and the internet tell me that it’s good for diarrhea, periodontitis and wounds.

After those two days I transfer the drying herb to paper bags. Not too much per bag. Made that mistake once, ended up with a moldy mess.

And then I just put them on top of my cupboard for a few weeks. I shake the bags every day or so and usually herbs are completely dry after three or four weeks. When they are completely dry I transfer them to jars, but storing them in paper bags would also work. I left some bags with herbs when we left in April and those herbs were perfectly fine.

I know a lot of people prefer hanging herbs in bundles, or drying on racks, but this works very well for me in this house and this climate. That’s actually another one of those romantic images I had to let go off. My first bundles of drying herbs got eaten by little lizards, got sunburned, accumulated an awful amount of dust or fell apart before I could properly save them.

Oh well, this will do just fine. And maybe one day, when I find the perfect cupboard, my herb collection, that is now cramped into the two bottom shelves of the kitchen cupboard, will look like the romantic picture of an apothecary that I have in my head. Nope, I’ll never learn 😉